
As requested here is the tutorial on how to make a peg bag!
Choose some pretty fabric, some for the main colour and some for a contrast. You will also need some velcro.
Choose some pretty fabric, some for the main colour and some for a contrast. You will also need some velcro.

These are the sizes I used for making mine
Cut two 16in(40cms) x 13 1/2in(34cms) from the main colour. Then from one of those cut a 6in(15cm) deep strip across the top like so

With your contrasting colour cut three strips 2 1/2in(26cm) long and the same width as your main fabric. Put one strip aside, we'll use that later. This is the front of the bag.

Sew a contrasting strip to each of the two smaller main colour pieces, with right sides together sew edges together with a 1/4 in seam, then iron seams open.

These when placed together will form the pocket

We now need to fold the contrasting colour over to make a neat edge, it needs to just fold over the line of stitching, iron flat

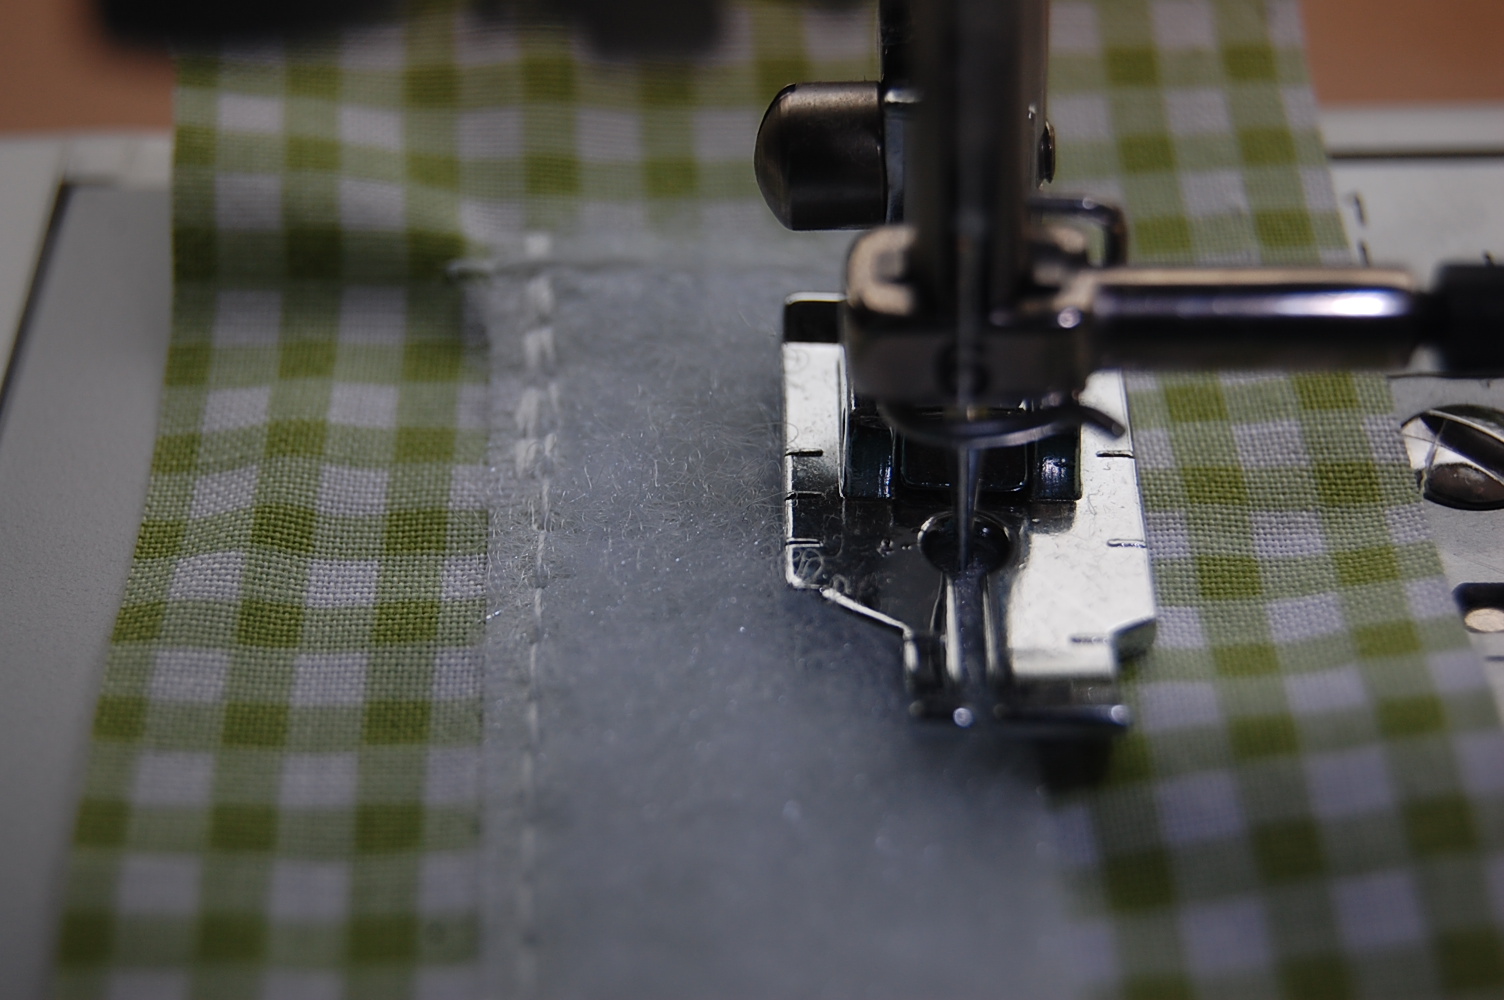
Then right side facing, 'stich in the ditch'

The front of the bag will look like this

The reverse side will look like this

For the back of the bag, take your 3rd 2 1/2 in(6cm) strip and place one side of the velcro like so

Sew in place, at the ends and the corners I went back and forth with the machine a few times to strengthen it. It could come un-sewn when you pull the velcro apart.

Now join the velcroed strip to the top of the peg bag back, iron seam flat

We now need to make the other velcro strip that will enable your bag to hang over the line or a coat hanger. In the contrast fabric cut one 8in(20cm) strip the same width as the other pieces

Fold in half and iron the fold, open back out and place the other piece of velcro towards the fold

Fold back so that right sides are facing and sew the short ends together using a 1/4 in seam. Turn back the right way and iron seams flat

We are now ready to put our bag together.
Firstly place the back of the bag, right side up on a flat surface
Firstly place the back of the bag, right side up on a flat surface

Place the second velcroed strip on top, velcro facing together (it doesn't need to be attached to the other piece of velcro)

Place so that there is room at each side to allow for a 1/4in seam at the side for when you sew it all together. You don't want the sides of the second vecro strip getting caught in the main side seams or it wont work properly (Trust me, I know from experience  )
)
) *There is an alternative way to place this, I will show you that too.*

**Place the top section of the front like so**

Then place the bottom section below, and pin it all in place

I had a little extra fabric overhanging at the bottom of the, I folded this over when I sewed it together, it will help to strengthen the bottom seam

Sew a 1/4 in seam all around the edge of the bag

Turn it inside out and iron the seams flat
Front
Front

..back..

You can either hang the bag straight on the line with the velcro or you can put in on a coathanger...your choice

Alternative way of piecing together. Remember when I said make sure you have enough clearance for the 2nd velcro strip when you sew the side seams together! Well I didn't  and so this alternative method was used.
At step * leave the strip out.
Follow from steps ** BUT dont sew along the top seam, leave this open
Slip the second velcro strip between the top ends of the bag like so
and so this alternative method was used.At step * leave the strip out.
Follow from steps ** BUT dont sew along the top seam, leave this open
Slip the second velcro strip between the top ends of the bag like so

Sew 1/4 seam along the top seam and finish as above.
NB: I will just add that when I put it all together, I made sure that I went back and forward with the machine at the corners and also at the sides when the pocket ends meet. It will hopefully make those joins stronger
If you make one be sure to share!

NB: I will just add that when I put it all together, I made sure that I went back and forward with the machine at the corners and also at the sides when the pocket ends meet. It will hopefully make those joins stronger
If you make one be sure to share!

Well done matey!!! And tomorrows lesson will be???? Should I share my cheats version - the one from the SPCA Op shop??? So much faster to throw together I found!!
ReplyDeleteI reckon you should! Gah orn pah orn gah orn! Ya know ya want ter father!
ReplyDeleteLooks great! I need to make another, I'd made on e last year using a boys shirt and simply sewed the bottom closed but its seen its days. This looks fun and a good use of those bits and pieces we always seem to have
ReplyDeleteThanks Sue, great instructions - will definitely have a go at this... cheers Sally : )
ReplyDeleteSo my comment yesterday didn't get through. I tried tree times and was always thrown out of the system...
ReplyDeleteYou did such a good job with this tutorial. I might give it a try it now, too - I just have to drag out my machine and some fabric.
Thanks for giving us all this great tutorial.
Great tute, really clear instructions. I bet even I could follow those instructions. x
ReplyDelete